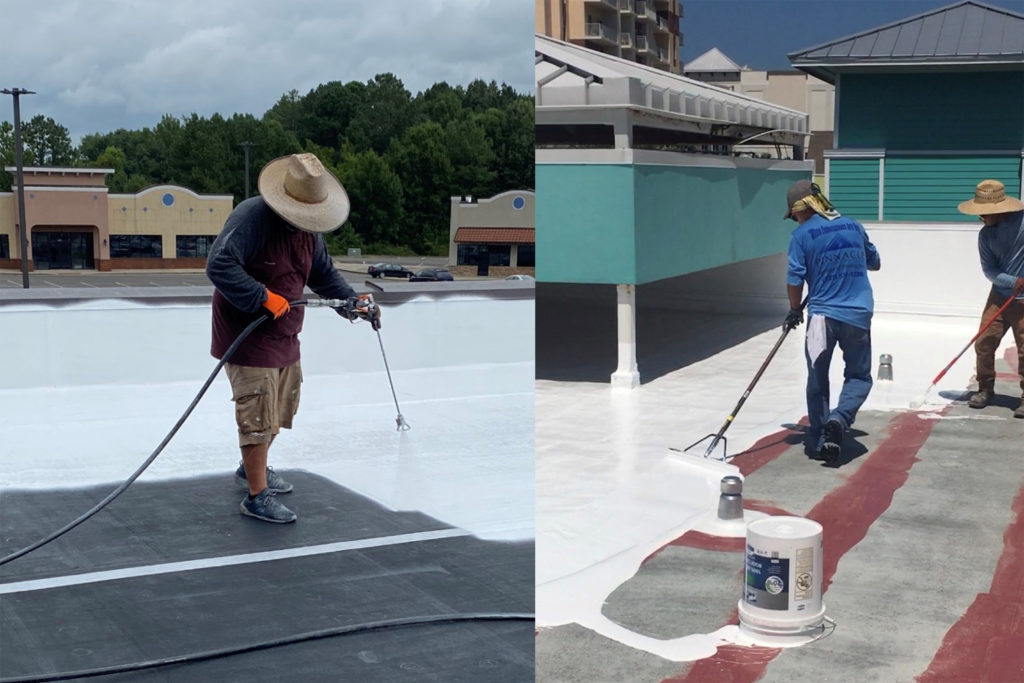
Since the 1960s, silicone roof coatings have been a growing force in the roofing industry. As more and more contractors continue to explore silicone roof coatings, we hear this question more than most: How do you apply silicone roof coatings?

The short answer – “You can roll it on or spray it on”. Any veteran roofing contractor knows that it’s seldom this easy, however. Given the plethora of silicone products we offer for every roof scenario, there are a multitude of options for applying silicone roof coatings. Through this two-part blog series, we will be looking at multiple application methods. We’ll then let you know how to apply silicone roof coatings for each.
Prep Work
Before applying a silicone top coat, prep work is often necessary. In these instances, there are a couple products that will help with your restoration:
Flashing Grade Silicone

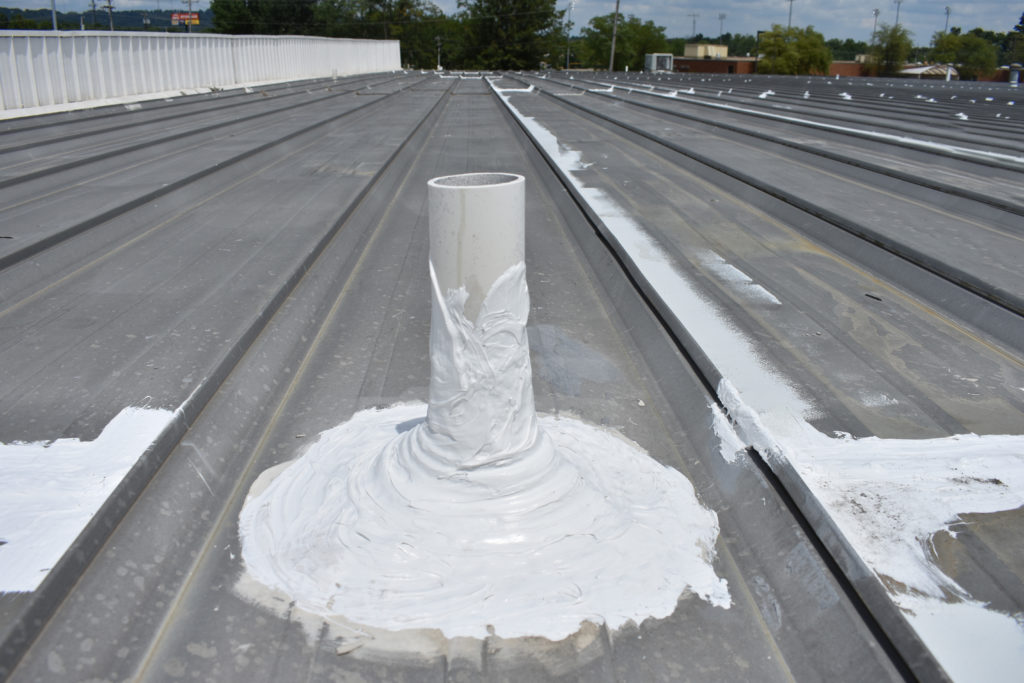
Flashing grade silicone (FG 400) is used to repair or reinforce flashings, seams, fasteners, etc. This product has a thick, butter-like consistency and therefore you will not apply it with a spray rig or roller. It is most common to see contractors using a paint brush to apply this silicone. FG 400 goes on thick and offers superior protection for flashings or gaps that a top coat silicone may not be able to properly seal.
We also sell FG 400 sausages. These are designed to be inserted into a sausage gun (if you haven’t seen a sausage gun, you can find out what those look like here) and used similarly to caulk. This comes in handy when dabbing fasteners or working silicone into hard-to-reach areas.
Silicone Caulk

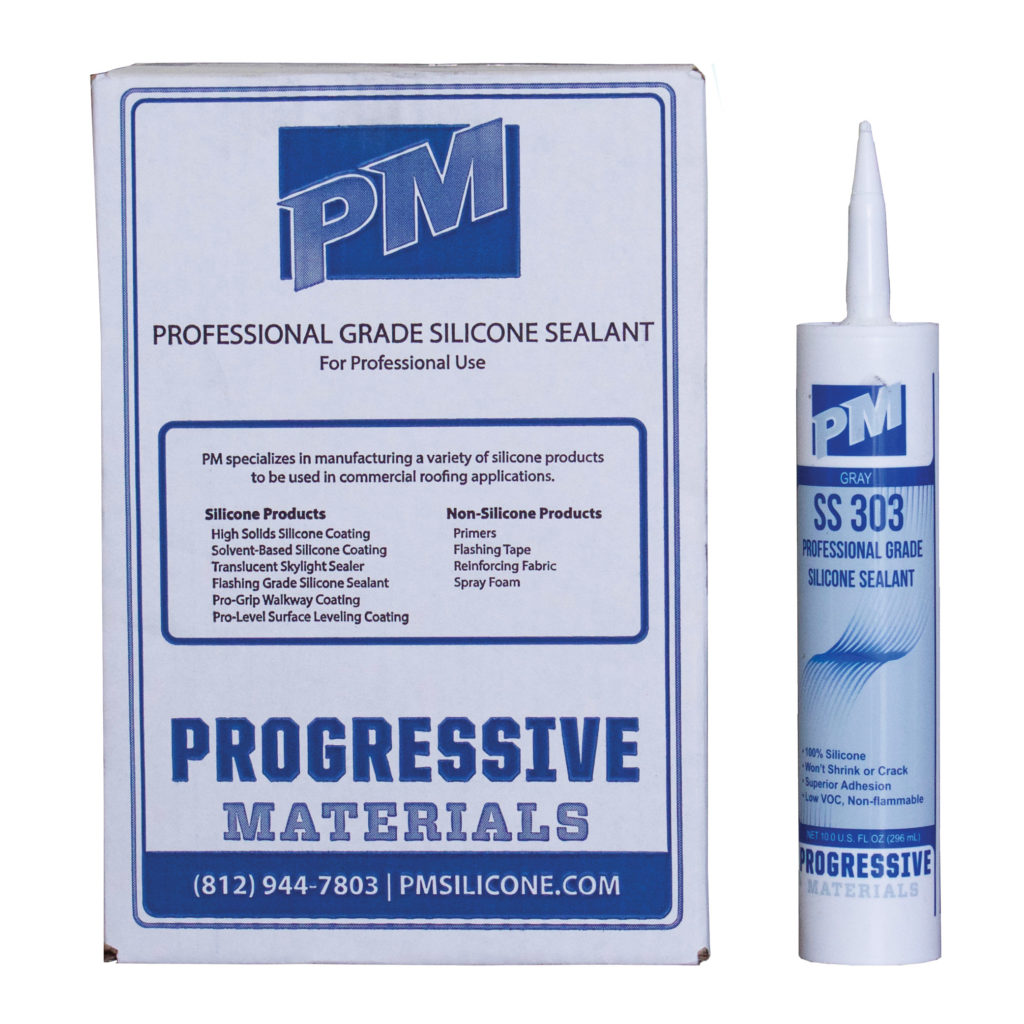
If you’re looking for a silicone option that isn’t as heavy-duty as FG 400, our silicone caulk (SS 300) can come in handy. SS 300 is just as durable as FG 400 but comes in a standard caulk tube. Apply It with a standard caulk gun to seal edges and smaller gaps. These two products work in tandem and compliment each other perfectly when prepping a roof!