Before applying silicone to any roof, there are some best practices that must be followed to ensure proper adhesion. Our roof coatings will adhere to almost any substrate, but following a few quick preparation steps will help achieve the best results and the longest lasting results. This blog identifies these best practices and lets you know how to prep roofs for a roof coating restoration.

-
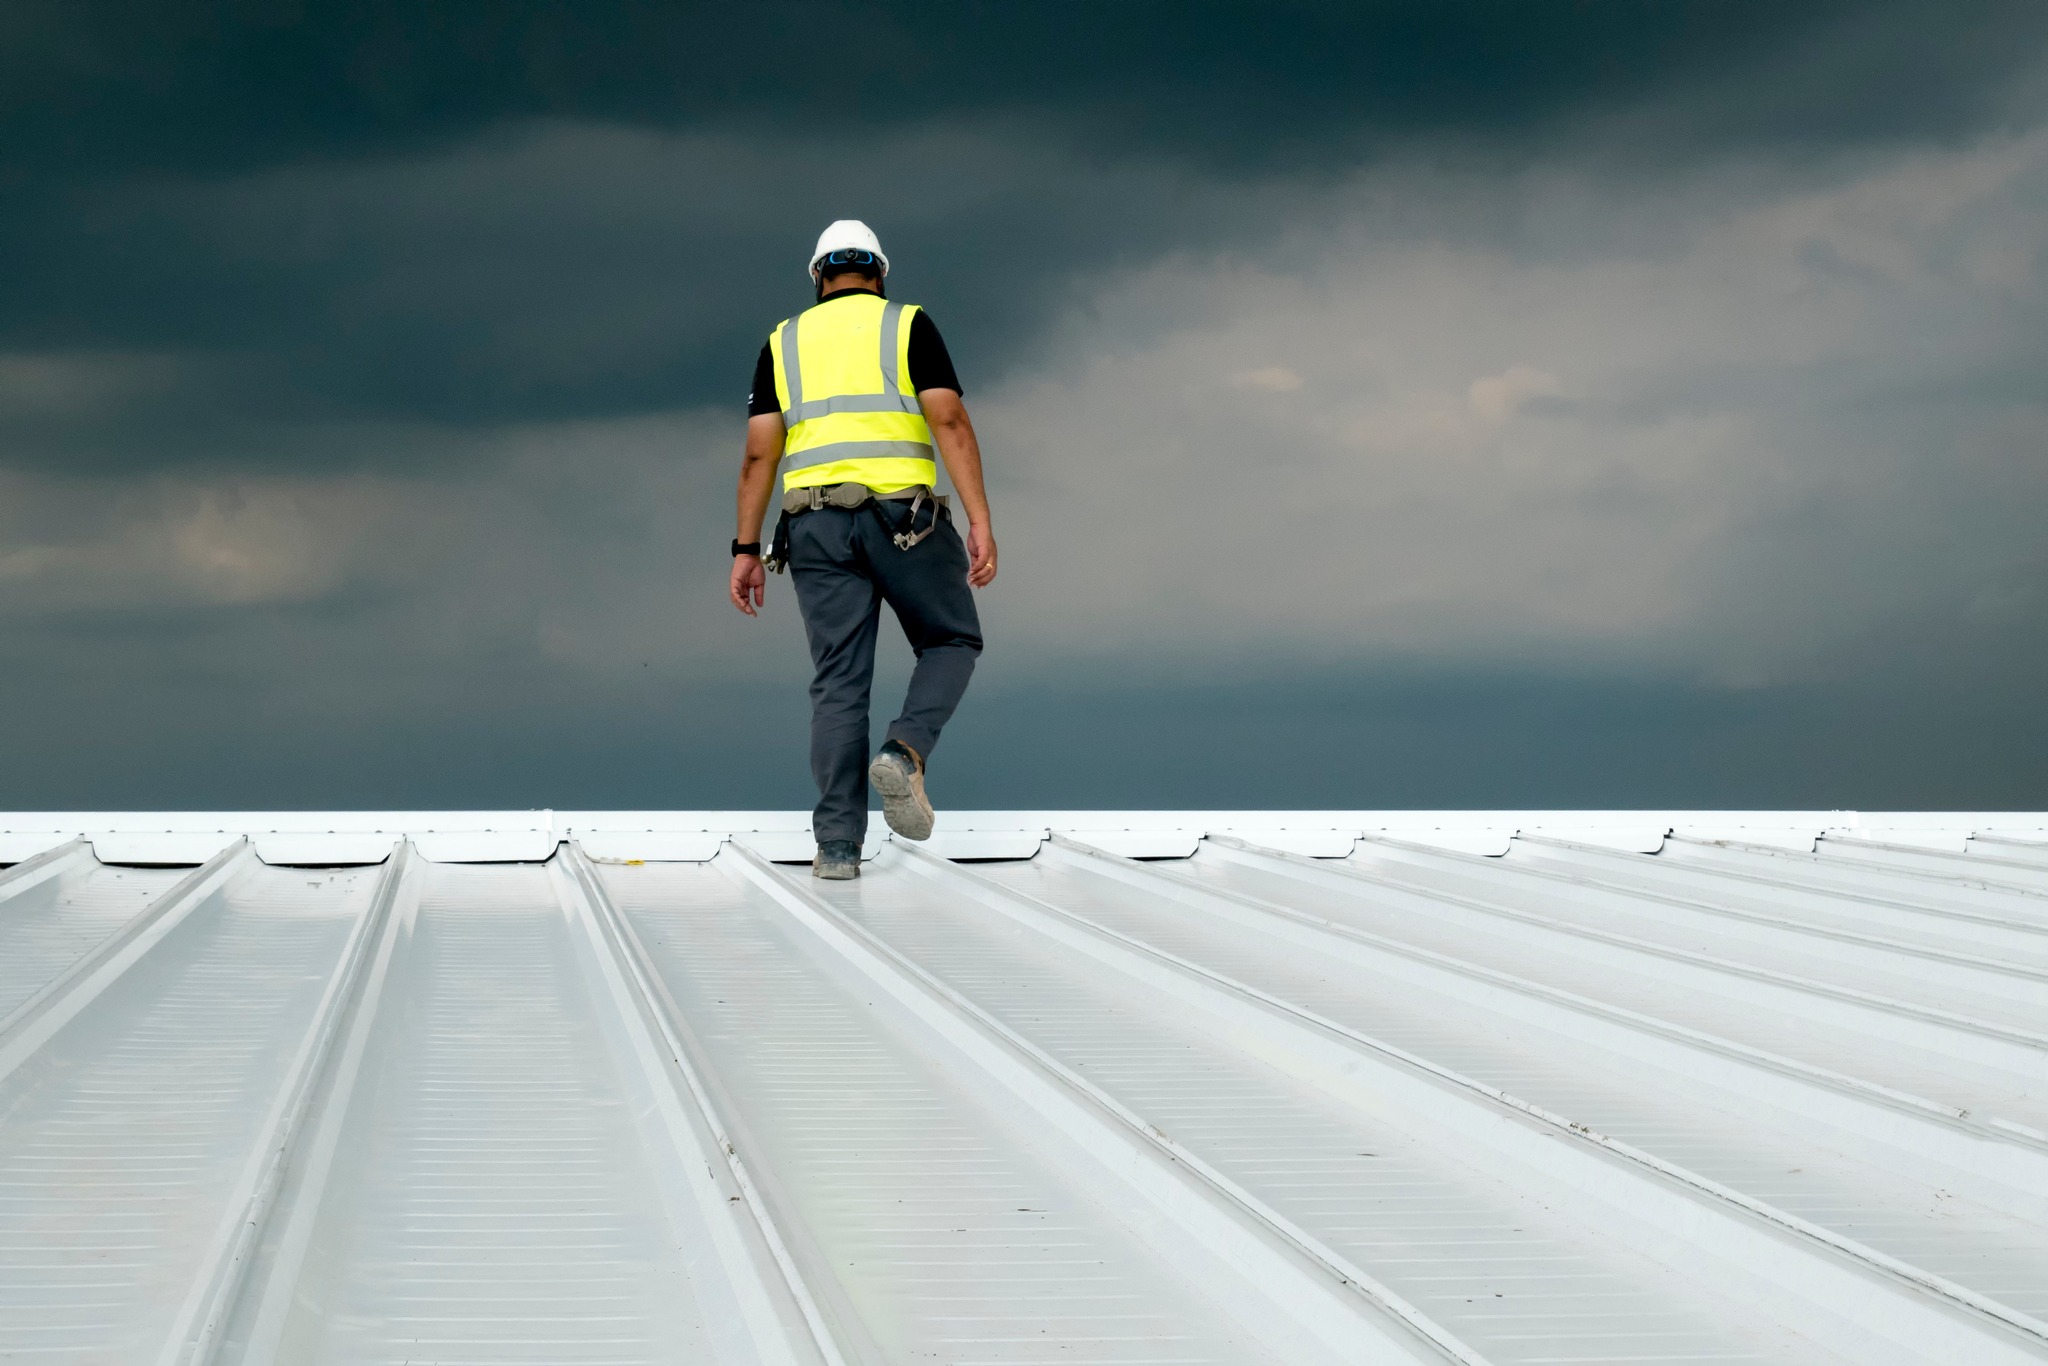
Pre-Inspection
If possible, go inside the building and check under the deck before stepping on the roof. You can detect potential cracked or rusted beams that could present a safety hazard. Once on the roof, a moisture survey is one of the first steps. If wet spots are found, pull out those areas down to the decking. Inspect the deck to ensure there is no structural damage. If none is found, build the deck back up and button up with repairs.
-
Inspect the Roof
An inspection identifies areas that need repairs before applying the coating. Check for signs of damage such as rust, cracks, holes, or loose fasteners. Additionally, check for any buildup of dirt, debris, or algae, which could prevent the silicone from adhering properly. Additionally, you will want to ensure the roof is suitable to hold up during step three.
-
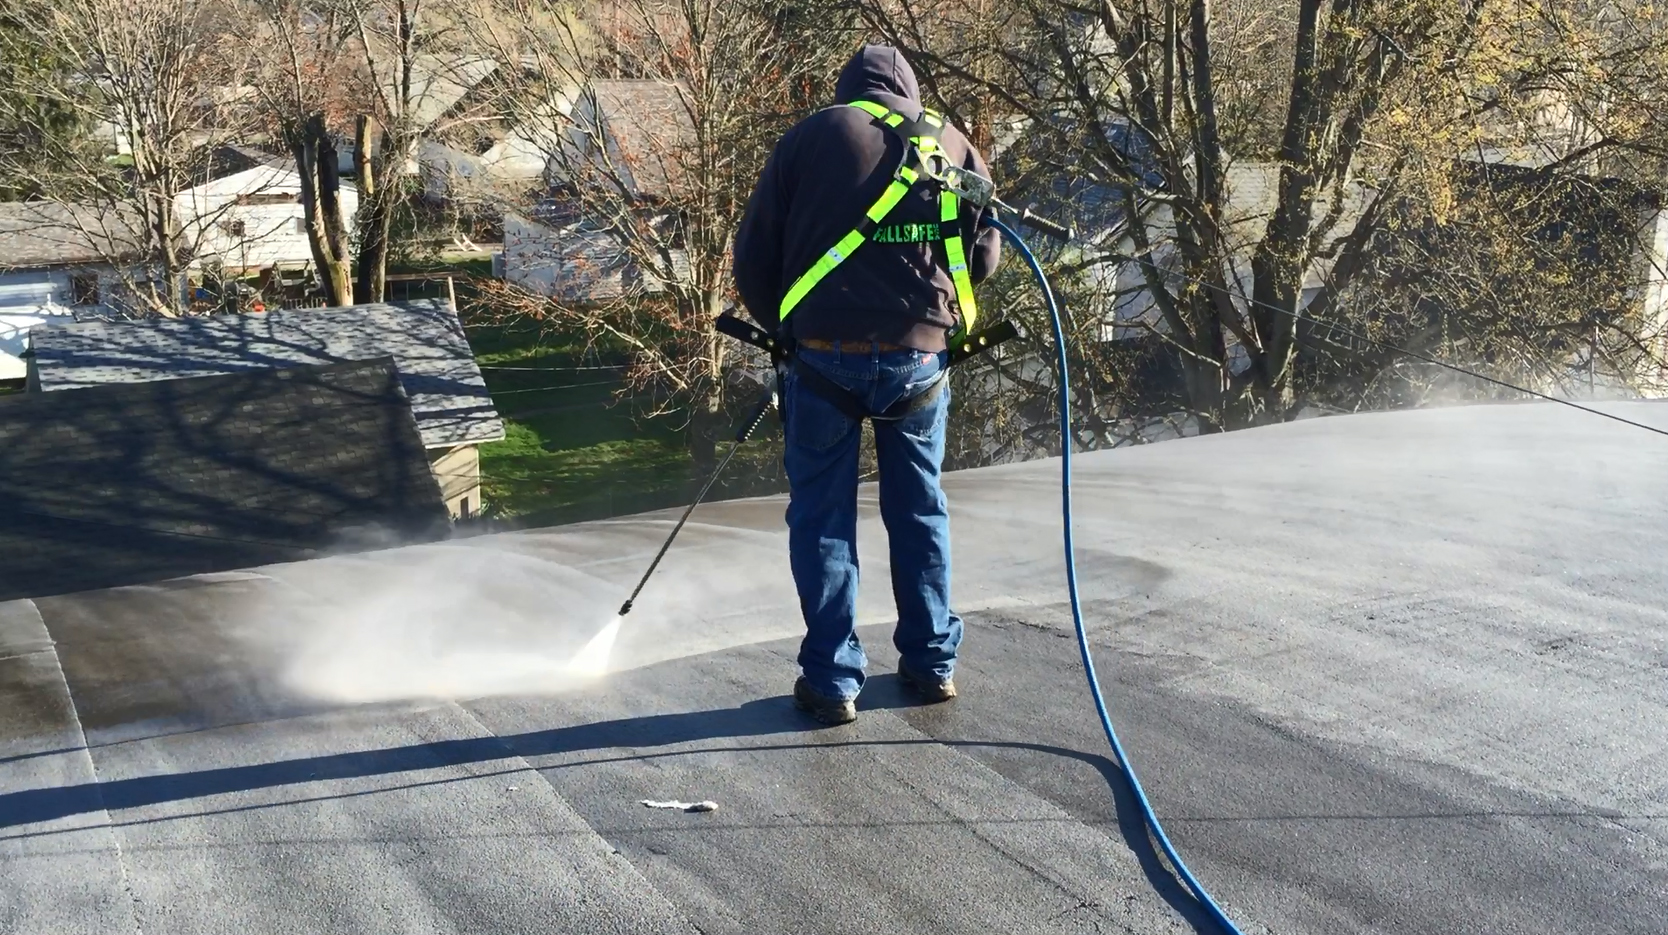
Clean the Roof Surface
A clean surface is necessary for coating to bond effectively to the roof. Remove all debris such as leaves, branches, or dirt using a broom or blower. Next, use a power washer to clean the roof thoroughly. You’ll typically want to have the pressure washer set to 2,000 PSI. Use caution on suspect areas; hitting weak spots with high-pressure hoses can create new leaks.
For stubborn spots, such as oil stains or grease, use a degreaser or a roof cleaner to break down the contaminants. Sometimes on EPDM roofs, the carbon black can build up more severely on the roof and a rinseable cleaner is needed. You can find out more about that process here.
-
Prime the Surface (If Necessary)
In some cases, applying a primer to the roof may be necessary before applying silicone coating. This simple tool lets you know when a primer is necessary on what kind of roof. Always be sure to reach out to your local Regional Manager with more questions about when a primer is necessary.
-
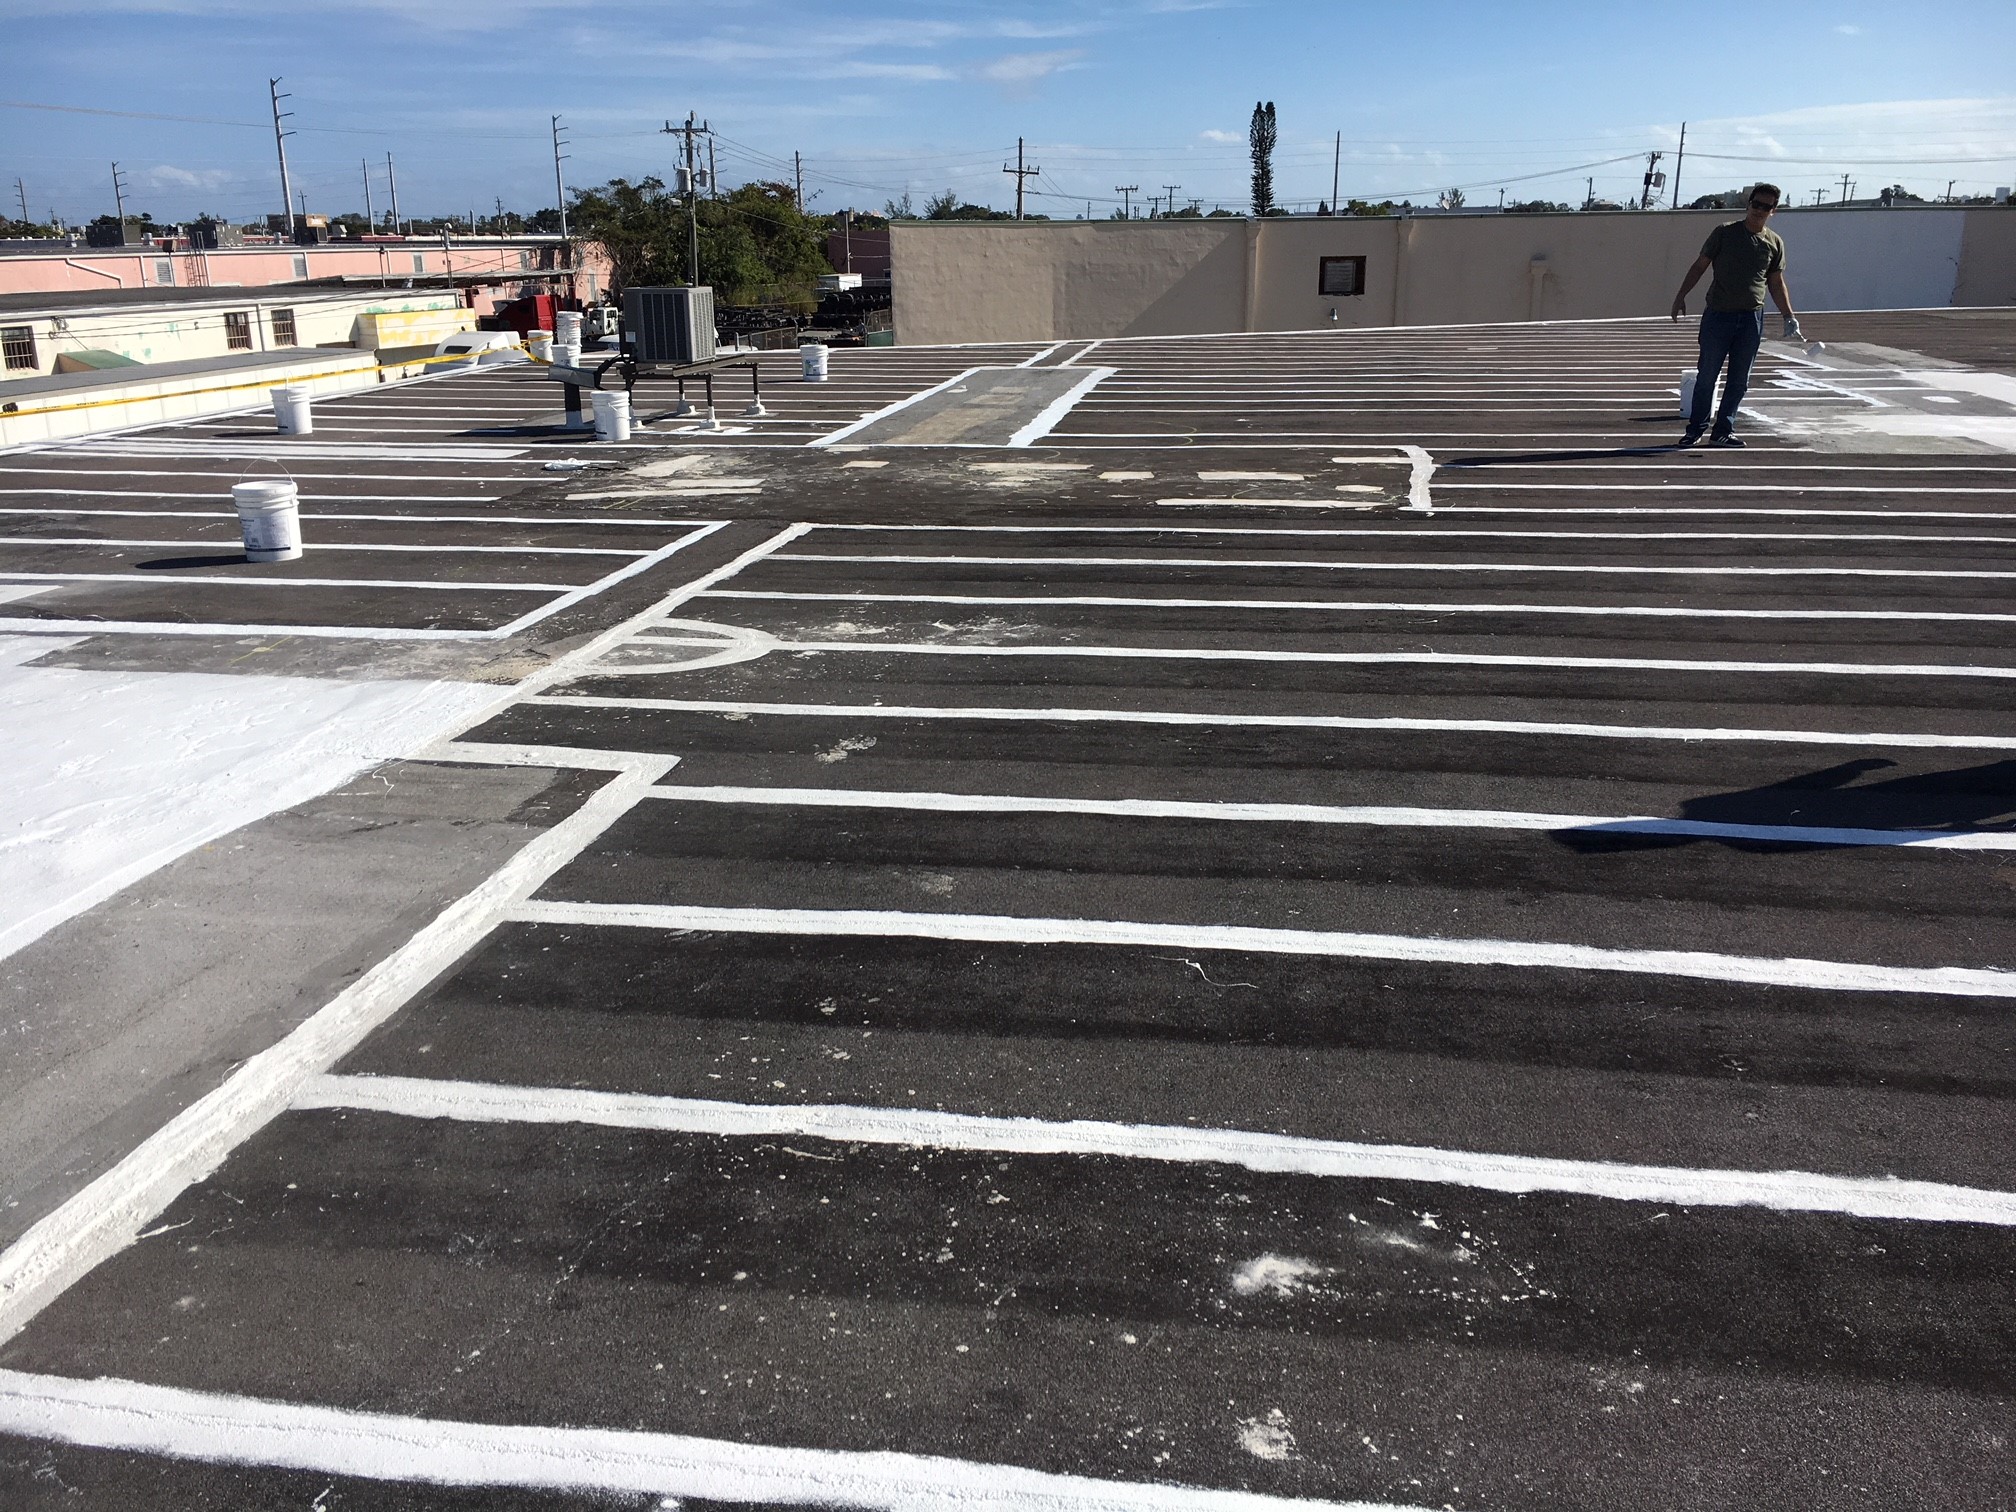
Penetrations and Seam Prep
Any loose seams can be addressed with PM’s 100% Silicone Patch and Repair Sealant and the three-course method. Seam stripping should be done per the manufacturer’s instructions. PM’s flashing-grade sealant will also provide extra waterproofing protection for penetrations.
Conclusion
Properly prepping a roof before coating is crucial for ensuring the coating performs effectively and lasts for many years. By inspecting the roof, cleaning it, making necessary repairs, priming (if required), and reinforcing seams and penetrations, you can significantly enhance the adhesion and performance of the top coat. This will offer greater roof protection and extend its lifespan.
Thanks for reading.